

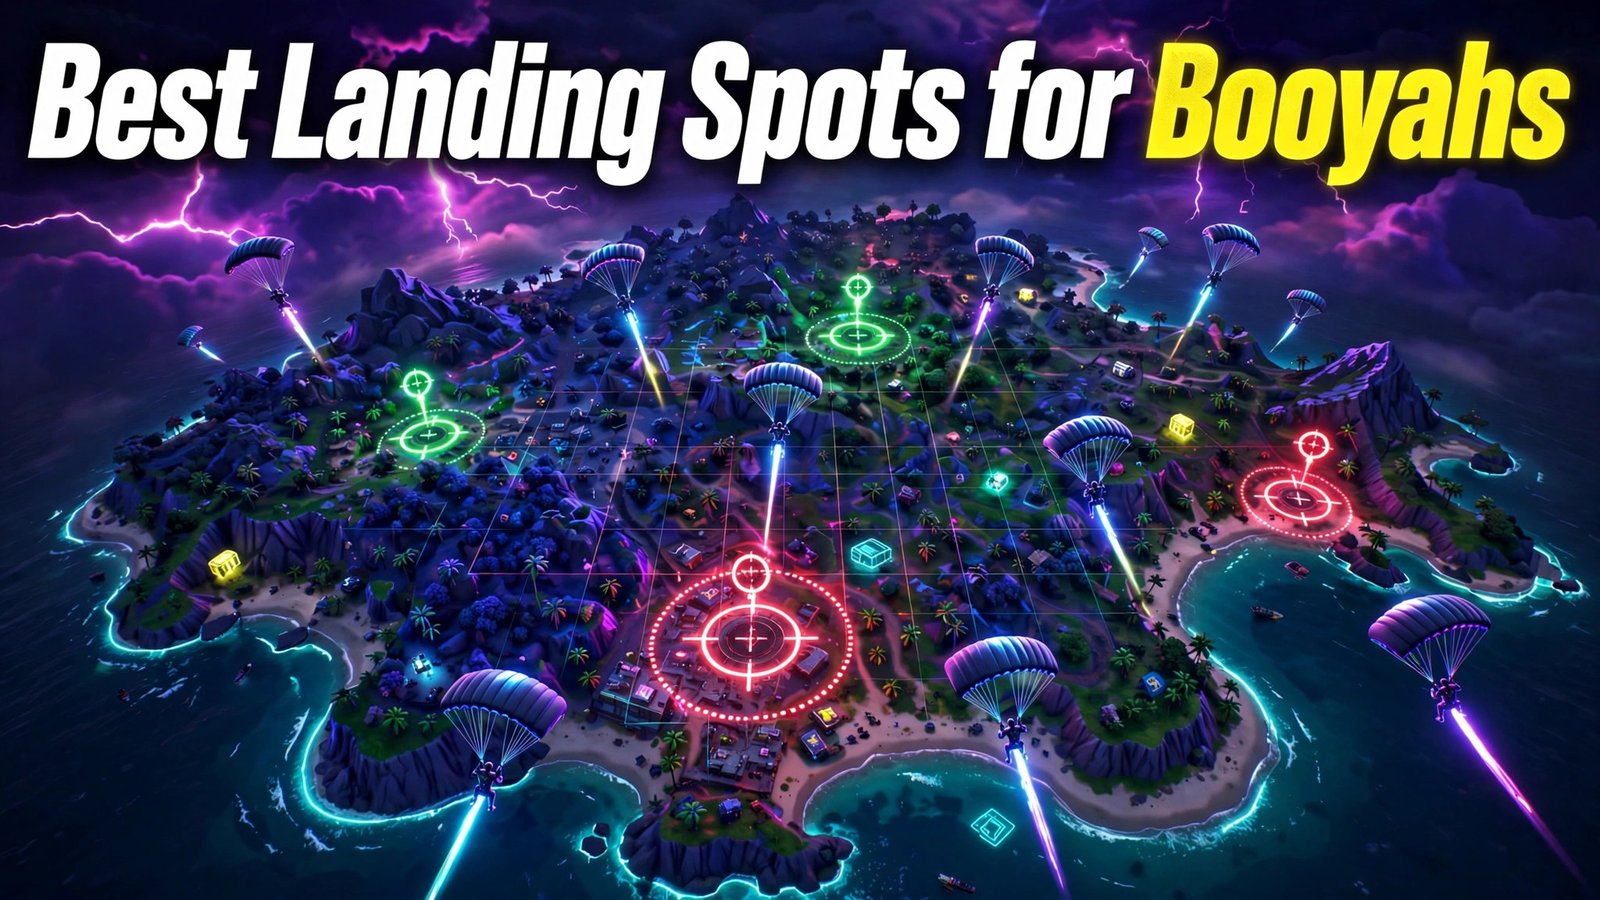
Ask any consistent Free Fire player what decides a match, and most will say the first sixty seconds. Choosing the best landing spots gives you loot, positioning, and momentum before most enemies have even found a helmet. The best Bermuda landing spots are not always the busiest ones — they are the places where the loot matches your risk, from famous hot drop locations like Peak to quieter safe landing zones along the map’s edges.
This guide breaks Bermuda down by play style: where to land when you want early fights, where to land when you want a calm start, and how to turn any landing into a strong mid-game. Whether you play aggressive or patient, there is a spot on this list that fits the way you win.
What Makes a Landing Spot Worth Choosing
A good landing spot balances three things: loot quality, enemy traffic, and rotation options. High-tier loot is useless if five squads land on the same roof, and a quiet corner is wasted if the zone later forces you across open ground with no vehicle and no cover.
Judge every spot by what happens after looting, not just during it. You want buildings that chain together, a road or high ground nearby, and at least two exit directions so a bad zone pull never traps you. Keep those three checks in mind as we move through the map.
Peak: The Classic Hot Drop
Peak sits at the centre of Bermuda and at the top of almost every hot drop list. It offers strong loot and a height advantage over everything around it, which is why confident players land here to farm early kills and build momentum for the rest of the match.
The risk is obvious: half the lobby has the same idea. Land on the edges of Peak rather than the very centre, grab a weapon from the first building you touch, and clear outward instead of rushing the middle. If the first gun you find is weak, drop off the side and reposition rather than forcing a fight at a disadvantage.
Treat Peak as a skill check, not a default. On days when your aim feels sharp, it is the fastest route to a high-kill Booyah; when you are warming up or protecting rank points, the calmer spots further down this list will serve you far better.
Clock Tower and Factory: Fast Fights, Fast Loot
Clock Tower is the other famous Bermuda brawl. The tower itself and the buildings packed around it hold good loot in a small area, so fights start within seconds of landing. Win the first exchange and you effectively loot an entire town that your enemies have already cleared for you.
Factory rewards a different style: rooftop control. Land on the roof, fight for the high ground, and use the height to watch rotations happening below you. The loot inside is solid rather than spectacular, but the position lets you choose your fights instead of having them chosen for you.
For both spots, the rule is commitment. Half-landing a hot drop — floating in slowly or touching down between buildings — is how players die holding a pistol against a shotgun. Pick one specific building before you jump, dive straight at it, and loot in a line toward your first rotation.
Balanced Mid-Map Spots: Pochinok and Bimasakti Strip
Pochinok is the thinking player’s landing: central, well stocked, and busy without being chaotic. You will usually meet one or two other players there, which means a fair early fight and then a fully looted town with rotations available in every direction.
Bimasakti Strip offers longer sightlines and spread-out compounds, suiting players who like mid-range fights and methodical clearing. Because the buildings are spaced apart, you can often tell exactly where the other landing party went and decide whether to push them or slip away unnoticed.
These balanced spots are where most consistent Booyahs are quietly built. You leave with full gear, a few early kills if you want them, and enough information about nearby teams to plan your next two zones instead of reacting to them.
Safe Landing Zones for Ranked and Solo Play
When rank points matter more than kill counts, the edges of Bermuda are your friends. Areas like Mill, Plantation, and the island of Sentosa see far less early traffic, letting you loot in peace and walk into the mid-game fully equipped.
Sentosa deserves a special mention for solo players: its separation from the mainland filters out most casual visitors, and the bridges give you clear information about anyone following you in. Just watch the zone carefully — a far pull from an island start means rotating early, not looting late.
Safe does not mean passive. Use the quiet start to stock healing items, upgrade your vest and helmet, and plan a route that reaches the zone edge through cover. This patient style is exactly how a solo rank push to Heroic protects points: survive first, then fight on your own terms later.
Match Your Landing Spot to Your Character
Your character build should influence where you land. Aggressive ability kits shine in hot drops where fights arrive instantly, while mobility and healing skills stretch the value of quieter landings by keeping you alive through long rotations across the map.
Before you queue, look at the full roster in our Free Fire characters guide and think about synergy: a character who rewards close fights wants Clock Tower energy, while a support-style build earns far more from a safe zone and smart positioning.
Pets matter here as well. A pet that supports movement or healing pairs naturally with edge-of-map landings and long rotations, while combat-focused pets earn their keep in hot drops. Landing where your build is strongest is a free advantage that costs you nothing.
Someone Landed With You: Winning the First Fight
Even the best plan sometimes puts another player on your roof. When that happens, the fight is decided by the first weapon and the first two seconds: grab anything that shoots, keep moving, and never stop to loot a second item while an enemy nearby is still unaccounted for.
Close fights reward clean aim more than fancy movement, which is why serious players drill their Free Fire headshot rate in training before ranked sessions. One clean drag headshot ends a landing fight before it can drain your medkits and armour.
If you lose the opening exchange of damage, break line of sight immediately and heal behind cover instead of challenging again out of pride. Surviving a hot drop with half health and good loot still beats a heroic death with a full backpack.
Read the Flight Path Before Choosing
The plane’s route changes every match, and the best landing spot is always relative to it. Towns directly under the flight path fill up fast, while equally good spots a short glide away are often completely empty simply because impatient players jumped at the first chance.
Make it a habit to mark two options before the jump: a primary spot near the path for aggressive games, and a backup away from it for ranked matches or off days. Deciding in the lobby, not mid-dive, keeps your landing fast and your options open.
Distance is a weapon too. Jumping early and diving at maximum speed beats everyone else to a close spot, while gliding patiently to a far town trades a quieter start for first pick of its loot. Match the jump to the plan, not to your impatience.
Loot Fast, Then Rotate With a Purpose
However good the landing, standing in it too long wastes the advantage. Set yourself a looting limit — a couple of minutes for most spots — then move toward the zone with your next position already chosen before you take a single step.
Rotate along cover lines: walls, compounds, and high ground that let you stop and fight if you meet another team doing exactly the same thing. Avoid crossing the centres of open fields in the mid-game; that is where landing winners become somebody else’s kill feed.
Finally, remember that your landing spot only buys you a start. Matches are won by the rotations, fights, and endgame decisions that follow, so treat a great landing as a head start to protect, not a result to celebrate early.
Frequently Asked Questions
What is the best landing spot in Free Fire Bermuda?
There is no single best spot for everyone. Peak and Clock Tower suit aggressive players who want early fights, Pochinok balances loot and safety, and Mill, Plantation, and Sentosa suit ranked players who want a quiet start. Match the spot to your goal for that particular match.
Where should beginners land in Free Fire?
Beginners should start with edge locations such as Plantation or Mill, where fewer enemies land. You get time to loot, learn the map, and practise rotations without being eliminated in the first minute, which builds far better habits than dying repeatedly at hot drops.
Is landing at hot drops good for rank pushing?
Usually not. Hot drops are high-variance: you might gain quick kills, but one bad fight costs placement points. Ranked players gain more consistent points from safer landings and late-game fights, saving hot drops for classic mode practice instead.
How do I land faster than other players?
Jump when your spot is at the right distance from the flight path, dive straight down to build speed, and aim directly at your chosen building as you descend. Practising the same drop a few times in a row makes the timing automatic.
Conclusion
The best landing spots are the ones that fit your plan for the match. Choose Peak or Clock Tower when you want early fights, Pochinok when you want balance, and Mill, Plantation, or Sentosa when rank points come first. Read the flight path, loot with a time limit, and rotate along cover instead of crossing open ground. Whatever spot you choose, your start only pays off if your early fights are clean — and those are won up close, so study the best Free Fire guns for close range before your next drop.

3 Comments
Pingback: Free Fire Rank Push Tips for Heroic in Solo Mode
Pingback: Free Fire Weapon Guide: Best Guns for Close Range
Pingback: Free Fire New Map Updates: What Changed This Season